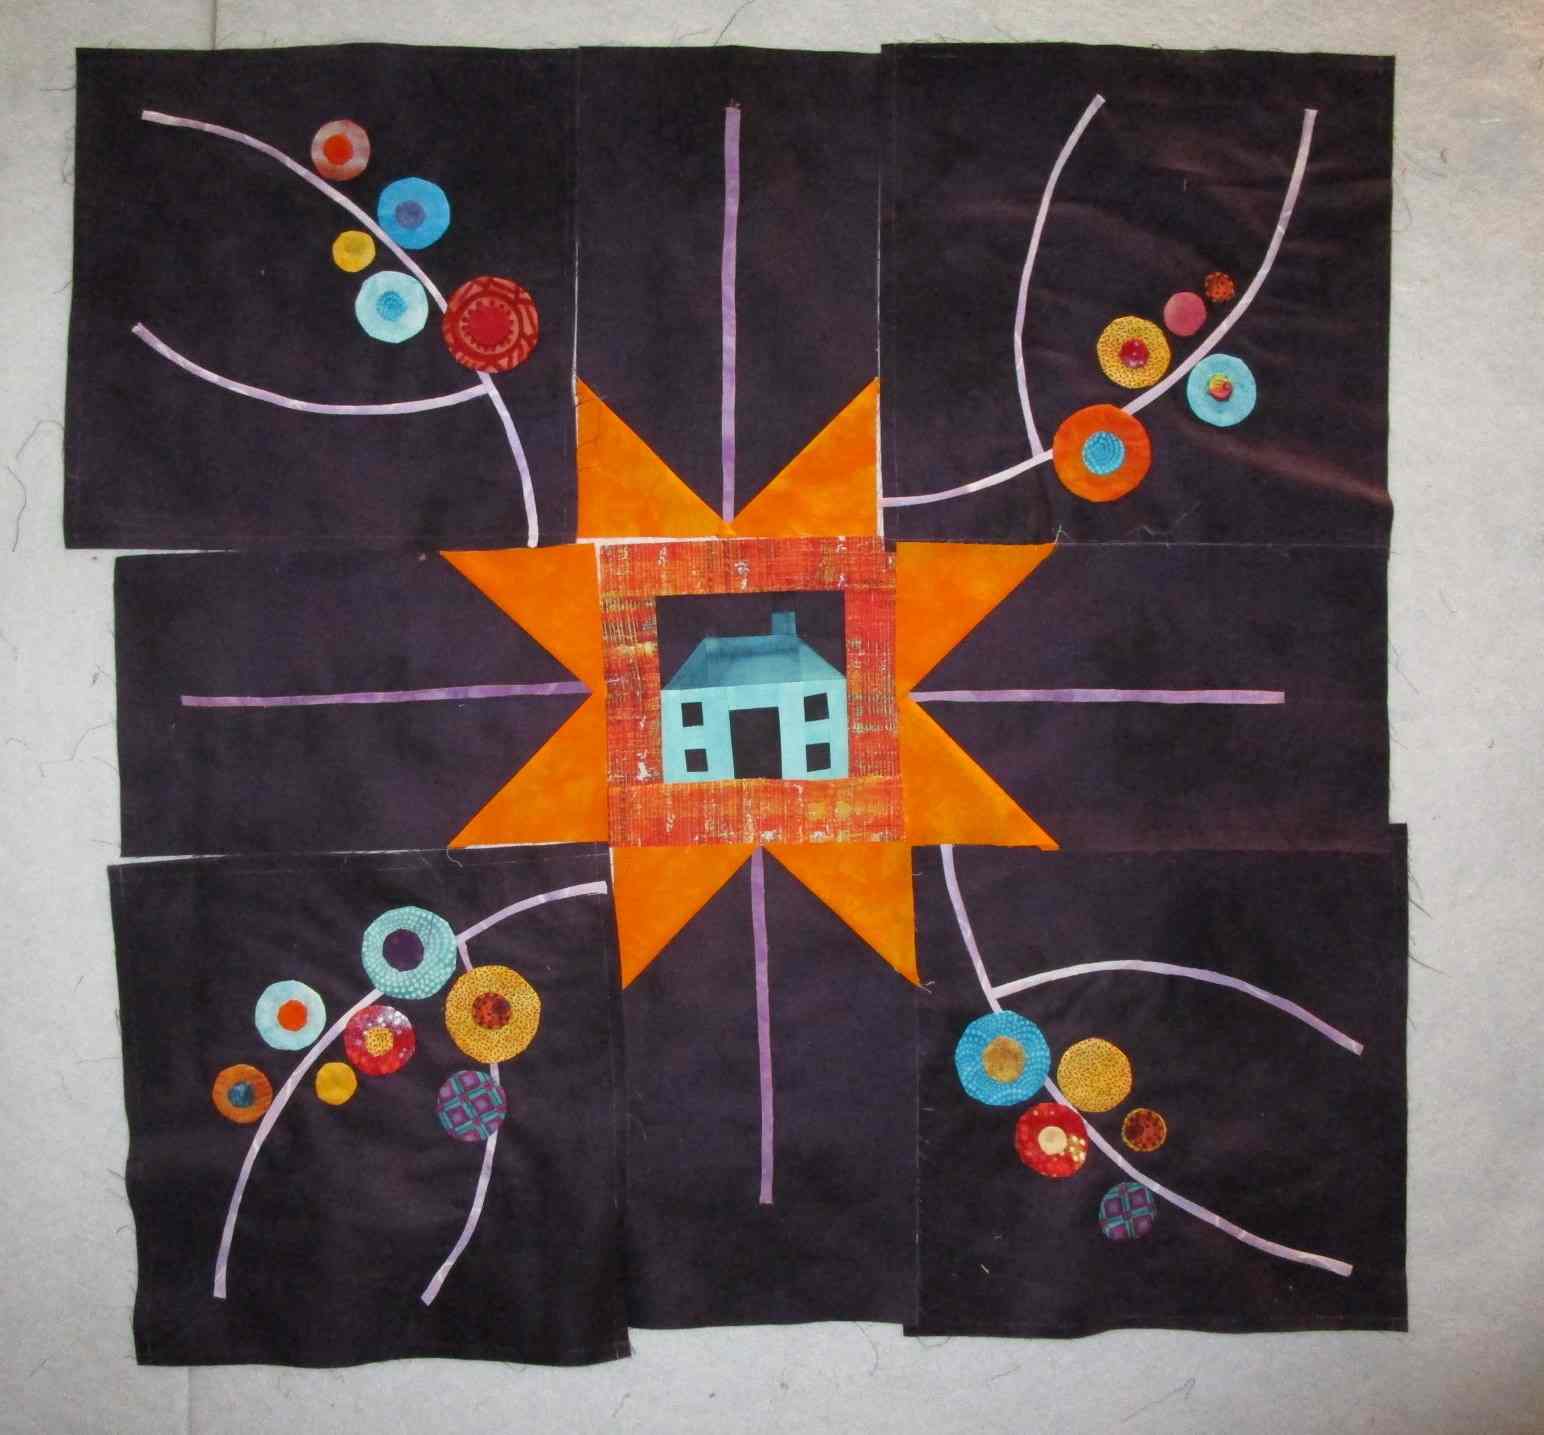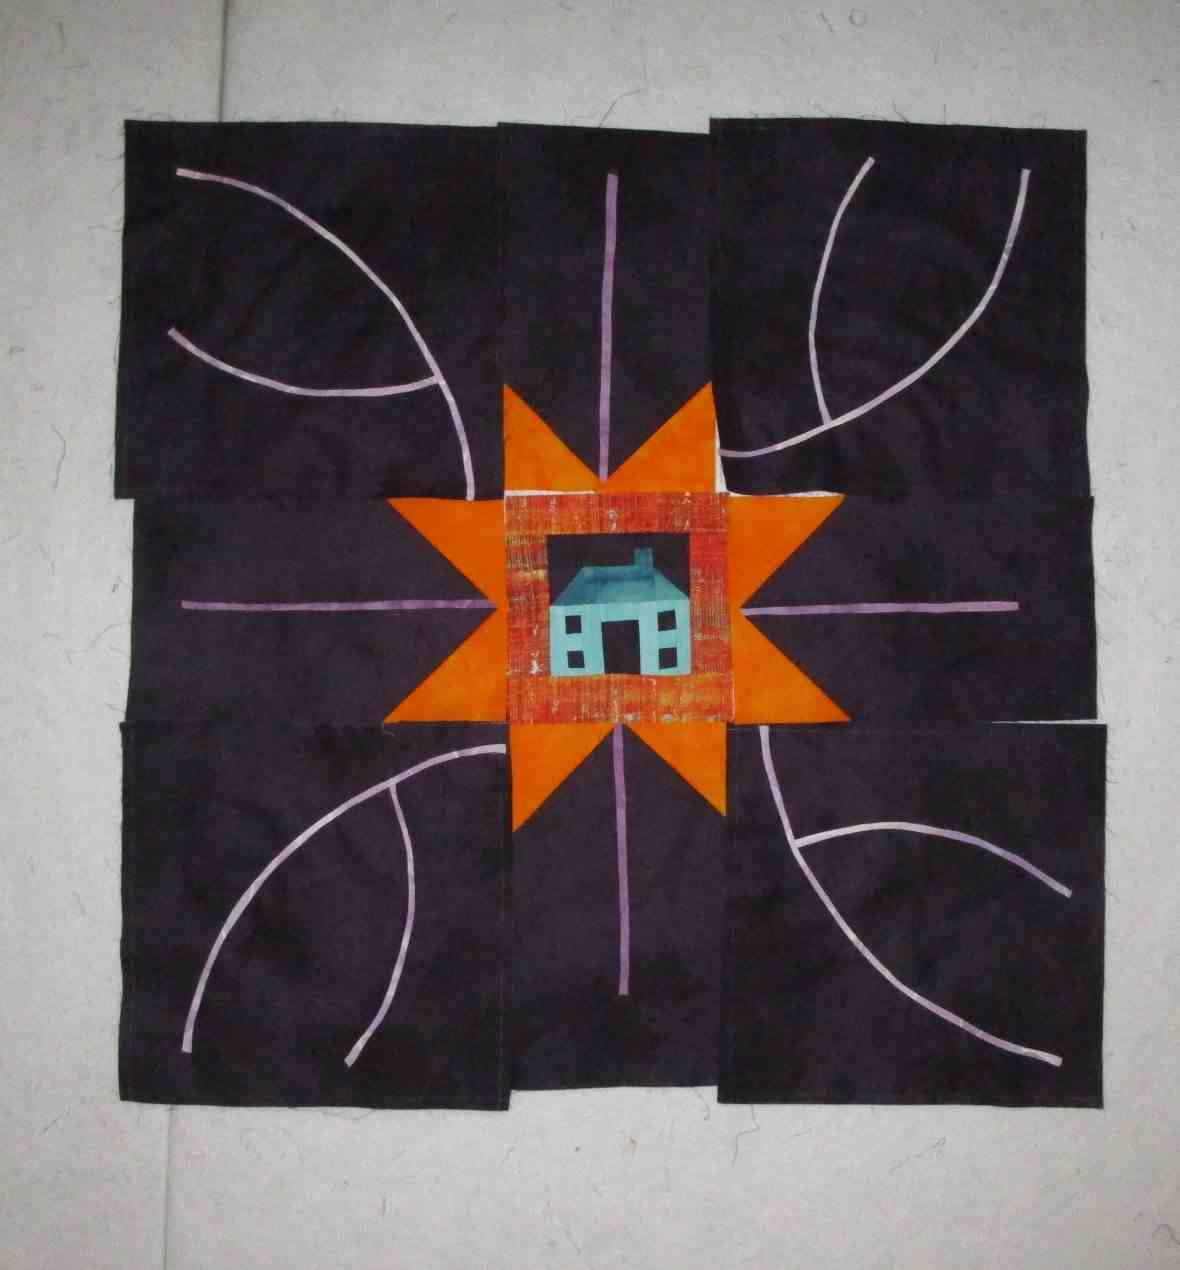
Showing posts with label applique. Show all posts

Friday, January 26, 2024

A Return of the Calendar Cows on Off the Wall Friday

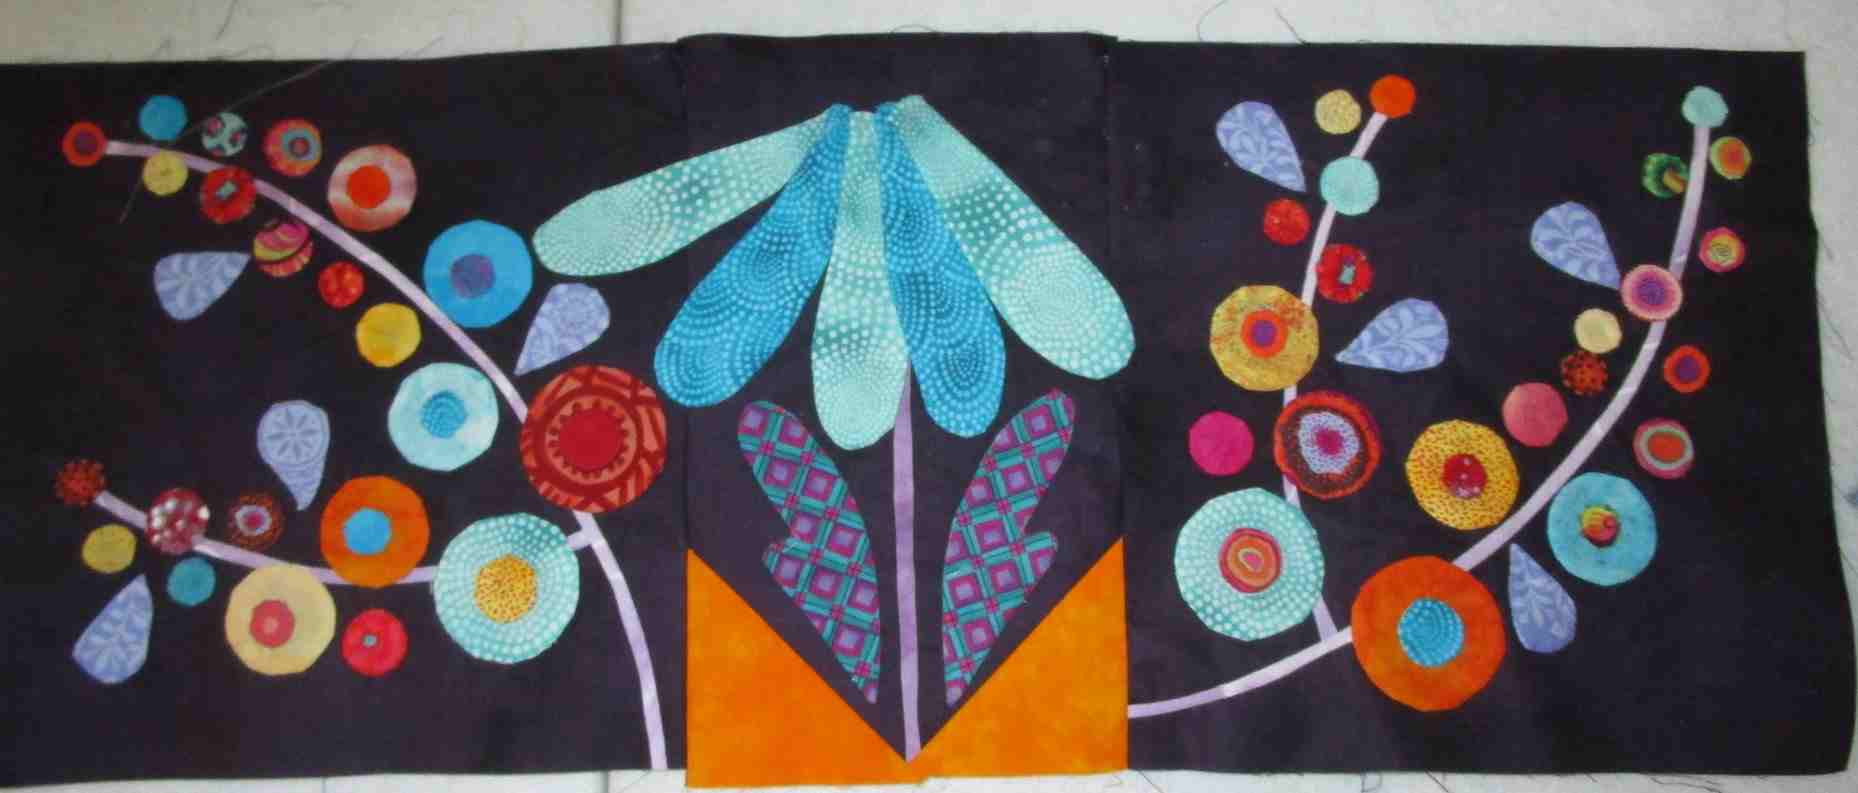
January, July, February, October, April, May Cows 
 

This week my husband and I got optimistic and started Spring Cleaning our spare bedroom.  This room, aka, Tessa's second bedroom has ended up storing all the odds and ends we're not quite sure what to do with.  (are we the only ones with rooms like this?) Of course, it got worse when Tessa moved out since her odds and ends are now in there too.  Included in this menagerie of stuff, are my UFOs.  A while back I did actually weed this group down to pieces I  wanted to finish but still, there is a nice pile of them....since...ya know...I'm the squirrel of quilters.  Like who wants to finish anything when there are so many great pieces to start?

Included in the pile was my husband's favorite project, the Calendar Cows.  I started this project wayyyyyy back in 2009, when my then 11-year-old was obsessed with cows.  The idea behind the project is that each block would have a monthly themed cow all designed by me.  At the time, it was the first time I had tried to design anything figuratively that complex by myself.  Each block felt like a little triumph.  Somewhere along the way, I lost steam at "August". (You can read the story behind it on that post!)  It was all designed but not sewn.  And there it sat.  For 14 years. (Yeah, I have no idea where the time goes, truly!)

August

tiny zigzags
At my husband's encouragement, the calendar cows came out into the studio.  He's right ... the project is pretty cool.  Plus now I have a better idea of what I'm doing.  For August, it's vacation cow with her cool shades and beach bungalows. In 2010, I was using a rough edge applique technique taught by Joan Colvin where she would design her piece and put pins in them, then stitch them all down with a little zig-zag stitch.  I like the technique but the pins are a pain and my old machine couldn't adjust the 

zig-zag down to where I want it.

Jump ahead 14 years, and I now can use little dots of glue baste and a proper size zig zag compliments of my Janome Horizon.  Also, a new addition is the Deco Bob for thread which makes the stitches basically disappear.  I did get some time to sew today and it's already looking great.  It's taking a while to get back into the hang of slowing down and stitching perfectly along the edge but I find that relaxing for sure!


The Thread disappears

Of course, I got to record all of this in my journal.  It's nice to have a record for this project as well as any other future rough edge applique pieces.  Plus I want to do a palette study on this piece.  When I started, I was just kinda winging it, and now I know that having a set palette will make the whole piece stronger!

my art sketchbook, ya gotta start some place!

It's weird to be this excited over a 15-year-old project but there ya go... the life of a quilter!

So What Have You Been Up to Creatively?

You are invited to the Inlinkz link party!

Click here to enter

Friday, August 25, 2023

Homeward Bound VII - Applipops - on Off the Wall Friday

Homeward Bound Month 7


Applipops
Okay, I'll admit it.  Even though this project is a lot of work, I am a bit obsessed with it.  I know
Sarah Fielke designed it and hundreds of quilters are making it all over the world, but it feels perfectly unique to me.  I'm always a little shocked when I get a section done.  Shocked by what I learned, how much better I am at the end of the month than at the beginning, and how it looks totally different from everyone else's. 

This month wasn't any different.  Well, it was different because it took a bit longer than the other months.  With July, we have entered the 3-month phase of hand appliquing the main border.  I've never did a border like this - where you have to get the placement close to right on all 4 sides.  Plus I'm still honing my hand applique skills.  

Use drafting templates to cut the right size circle

The skill this month was learning how to use my new applipops.  Since this month had 28 little 3/8" circles to do, I finally called uncle and bought a set of these little metal washers that help you form fabric circles perfectly.  From the directions and the many, many videos on YouTube they looked easy enough to use. Right?  Well of course not.  Like anything else, there was a learning curve. (I'm sure it didn't hurt that I had to start with the smallest of small circles). 

Flat side against flat side

Tips that Helped

Use Sta-Flo liquid starch full-strength

Apply with a stiff brush but not sopping wet

Leave a 1/8" seam allowance for small circles

Place the fabric between the flat side of one ring, sandwiching the flat side of another ring

Let them cool completely

Give one final press

Finger shape with full strength starch & Iron

By the time I did my last little circles, they were coming out great.  I really liked spending my time prepping the circles rather than trying to needle-turn them into shape.  


I'm really glad I bought the applipops.  I like how they come in a nice microsuede pouch, organized with a nice wire hanger.  I bought two sets since it takes a good 10 min for the circles to cool, but you can even buy custom-sized sets if you want.  I can totally see myself prepping up circles and using them as a take along project.


40 hours later, Month 7 is done and onto Month 8...I figure sooner or later I'll get caught up.  Really, hand applique is one of those things that can't be rushed!

(Linking with Kathy's Slow Stitch Sunday)

So What Have You Been Up to Creatively?


You are invited to the Inlinkz link party!

Click here to enter

Friday, August 4, 2023

Homeward Bound BOM Continues on Off the Wall Friday

One down - 3 more to go

 It's always hard to get back into the swing of things after a vacation, isn't it?  At least that is what I found this week.  I did manage to get my studio unpacked and finally looked at my Block of the Month, Homeward Bound.

Sighhhhhhh

I had a few rules  parameters when I started this journey last January.

  • Stick to the pattern
  • Stick to the technique the designer was teaching
  • Finish each month on time
I was doing so well......then came July and it all got shot to hell.

Here it is, the first week of August and I only got about 1/4 of July done.  Of course, I did spend 2 weeks of July traveling, but still, I should have planned better.  

Not to mention, I finally called uncle, and used a few different techniques that weren't what Sarah
Fielke suggested.  Last month we were suppose to applique  24 ... yes you read that right ....24..3/8" circles.  The last time I did some that small, they all came out kinda wonky.  That was using the cardboard tin foil method.  So this time, I pulled out my new applipops to see if I could get better results.  The answer was yes!  After watching this helpful video, I did manage to get them to come out mostly circular.  The prep time of the circles might take a bit longer but the applique time was quick.

I did do a visual test on what color the circles should be  - sticking to the adage to make visual decisions visually.  


The dotted teal won out!

Sarah has given us three months to get these borders hand appliqued, so I figure I have time to catch up.  Not to mention, I'm slowly working my way through 7 seasons of West Wing...again.

Under  Things I Like...

I finally gave in and bought a pair of Karen Kay Buckley's Perfect Scissors.  Timna Tarr said she
liked them and the 6" size was something I really have needed for a while.  Plus they have one blade that is straight (that can be sharpened) and one blade that was micro serrated (that will grip the fabric better for more accurate cutting).  Of course, I've heard quilters from all walks of life swear by them.  

After using them for a few weeks, I can say I really like the size and the narrow little point they come to.  I'm not sold though on the serrated blade since I'm used to a smooth cut of the straight blade of my Kai's.   BUT I do love the size and find myself reaching for them just as much as my Kai's,

I still love my Kai Professional Series Scissors though - I have the 7170 and just love, love, love them. I mean you can't beat the action of the scissors plus they really do cut through fabric like butter.   I might ask for the Kai's 6" 7150's for Christmas and see if I like those.  

I mean really...can a girl have too many scissors?

So what do you think about your scissors?


You are invited to the Inlinkz link party!

Click here to enter

Friday, June 2, 2023

BOM - Month 5 on Off the Wall Friday


Helen's EQ8 mock-up
Under the wire, I finished up May's section of the Quilt Show's Block of the Month quilt.  I won't lie, it was a struggle.  This month's section was the flying geese that surround the elaborate medallion center.  I spent a good 10 days hmmmmming.....hawwwwwwing on exactly how I was going to handle the color placement of the geese.  When I spoke up about these concerns on the quilts forum, Helen W used her EQ8 to come up with a quick mock-up (Cool right?).  Several quilters were going with solid flying geese and they really seem to anchor the piece.  With a little more thought though, I decided that I would use prints and value changes to give a bit of movement.  I decided the corner sprigs would anchor the borders.  Problem #1 solved.

Next, I spent 2 - yes 2 - weeks struggling with getting the half square triangles right.  After 30 years you'd think I would have the skill down pat, but no.  I had to remind myself more than once that the reason why I was doing this piece was to hone my traditional skills.  Apparently, this was going to be one of them.  I did stick to my rules and used the designer's method which I actually found pretty user-friendly.  About 70% of them turned out right.  The first set, no lie, I probably did 3 times.  By the last set, I flew through them.  So the old adage is true...practice makes perfect.  As Rebecca Grace says, "Getting them just right is SO SATISFYING!"  She's right too.  It gave me a Victory RushProblem #2 solved.

It's now the last week of the month and only the little applique sprigs to finish.  Easy right?  Ya

< know, I want to preface this with I have an engineering degree with many, many years of math behind me.  Somehow, I missed the fact that 4 borders have 2 sprigs each that had 4 leaves each and that would add up to 32 leaves.  Let me repeat that 32 leaves to hand applique.   At about 15 minutes each that is 480 minutes or 8 hrs of hand applique.  Oh and lest I forget the 8 little circles that went on the end of the sprig.

So now you know, why I only managed to finish June 1.  But why am I stressing you ask?  Because the minute you fall behind on a BOM it's HELL to catch up.  I've learned the hard way, that the best way to get a big project done is a chunk at a time on a strict schedule.  

And it's done.

On to Month 6.

Enough about me....

So What Have You Been Up to Creatively?

(I'm linking this week up to Kathy's SlowStitch Sunday)

You are invited to the Inlinkz link party!

Click here to enter

Friday, April 21, 2023

A Quick Update! BOM Month 4 on Off the Wall Friday


Attempt 1 - I just thought the petals were too BUSY!


Wow!  Spring is crazy around here.  It's like all the ladies across the country woke up and thought, "Gosh, it's spring.  I need some new clothes!"  So you'll forgive me if this is a short  I did manage to get in a bit of applique this week and when I say a bit....I actually mean a bit!  

I am working on the fourth month of the Homeward Bound Quilt from the Quilt Show website.  It's the month when we finally get to put all the months together and applique the top of the flowers on.  Doing it hand applique just takes longer but I'm enjoying the process,

Well, I was enjoying the process right up till I did one cornflower.  I made the fatal mistake of not following the directions (video AND written) about tracing the pattern out onto the fabric.  As they would say in Pretty Woman, Big mistake, HUGE!  Apparently, you can't just "eye it in".   By the time I got to the end of all 6 petals, I realized the top center piece would not fit on properly.  sighhhhh THEN when I was taking a picture of  it ('cause all mistakes need to be immortalized, right?) I was thinking the prints didn't work.    The color was working but the prints, not so much!  The prints were just too busy even though they are a tone-on-tone, those prints have a LOT of movement in them.  The cornflowers were meant to anchor the blocks since all those circles (hollyhocks) are so darn busy!

See I think this works better!

So I bit the bullet, took an hour to pull it all out, and pulled out some hand dyes.  I also pulled out my light box to trace the pattern on tracing inside the line so it wouldn't show and sat down to do it all over again.  By the time I was done, I was all happy!

So really it was actually a fortunate mistake, 'cause I don't know if I would have had the discipline to re-do the whole fabric just because the fabric was a bit off!  I know other people do, but when you're looking at re-doing 3-4 hrs of work, it's just hard!

I have one and a half done and it's the  21st!  I better get after it!

(Linking to Kathy's Slow Stitch Sunday Linkup)

So What Have You Been Up to Creatively?


You are invited to the Inlinkz link party!

Click here to enter

Friday, March 17, 2023

Quilting Trends for 2023 on Off the Wall Friday

Me stitching in my studio watching the Mentalist...again

Okay, let's face it.  I'm not one for following trends.  I'm the type that decides what is good for me and mine and then goes in that direction.  I do, however, keep track of trends, just because it's good to stay informed.  I recently got Timna Tarr's latest newsletter and it mentioned that handwork is becoming more of a trend on the national scene.  That I can see.  You hear of handwork everywhere these days.  First English paper piecing made a resurgence with the Millefiori Quilts and Grandma Garden quilts leading the way.  The Daily Stitching Groups online have gotten quilters from all over stitching a little every day.  Plus every where you look you'll see quilters trying Big Stitch hand quilting.  On top of that, Sarah Fielke's Homeward Bound (the BOM designed for the Quilt Show) is bringing hand applique back in a big way.  I've read so many times on the BOM forum that there is a whole group of quilters that this is their first attempt at hand applique.  (For that matter there is an article on needle turned applique in the current issue of American Quilter).  

Personally, I think it was inevitable.  Normally trends are cylindrical right?  Caryl Bryer Fallert-Gentry broke the quilt world into machine quilting by winning Best in Show at Paducah for Corona 2: Solar Eclipse.  back in 1989 (Click on that link to see how she designed it - wow super fascinating)  It just went from there.  The internet really helped with youtube videos showing everyone how much they could push their domestic machines.  THEN came the advent of long-arm quilting which gave quilters an easy way to get all those quilt tops finally quilted.  BUT thirty years later, there is still a segment of quilters that love the slow methodical feeling of handwork.  It's cheap, it's portable, and it's soothing.  Plus there is a whole generation of quilters who haven't tried it.  So now it's back.  

This brings me back to the point that apparently I am officially "In". Who knew?  I do want to mention that when I started quilting in 1992, it was basically mandatory that you learn hand skills including hand quilting and applique. But I really loved it since I came from a cross-stitching background.

This month my work has been all dominated by handwork, so much so that my hand ached after a 10 hr day of it.  


I finished up my foray into appliqueing circles by completing this month's section of the Homeward Bound Quilt.  I want to say that none of the circles came perfectly circular but all the stitches were definitely invisible.  That 100-wt Invisafil thread is The Bomb!  I do think that if I ever do more applique circles, I will invest in the Applipops 'cause I want my circles to be perfectly circular.  


One thing Sarah clued me in on was how handy a sandpaper board is for tracing on fabric.  I did save the $20 and had Paul make me one with fine grit sandpaper.  It really does smooth out your lines when you are writing on fabric!


You can see how my circle templates came in handy...again.  If you don't have a set of drafting circle templates ... BUY some!  I can't tell you how many times I used them over the years for all sorts of things.  

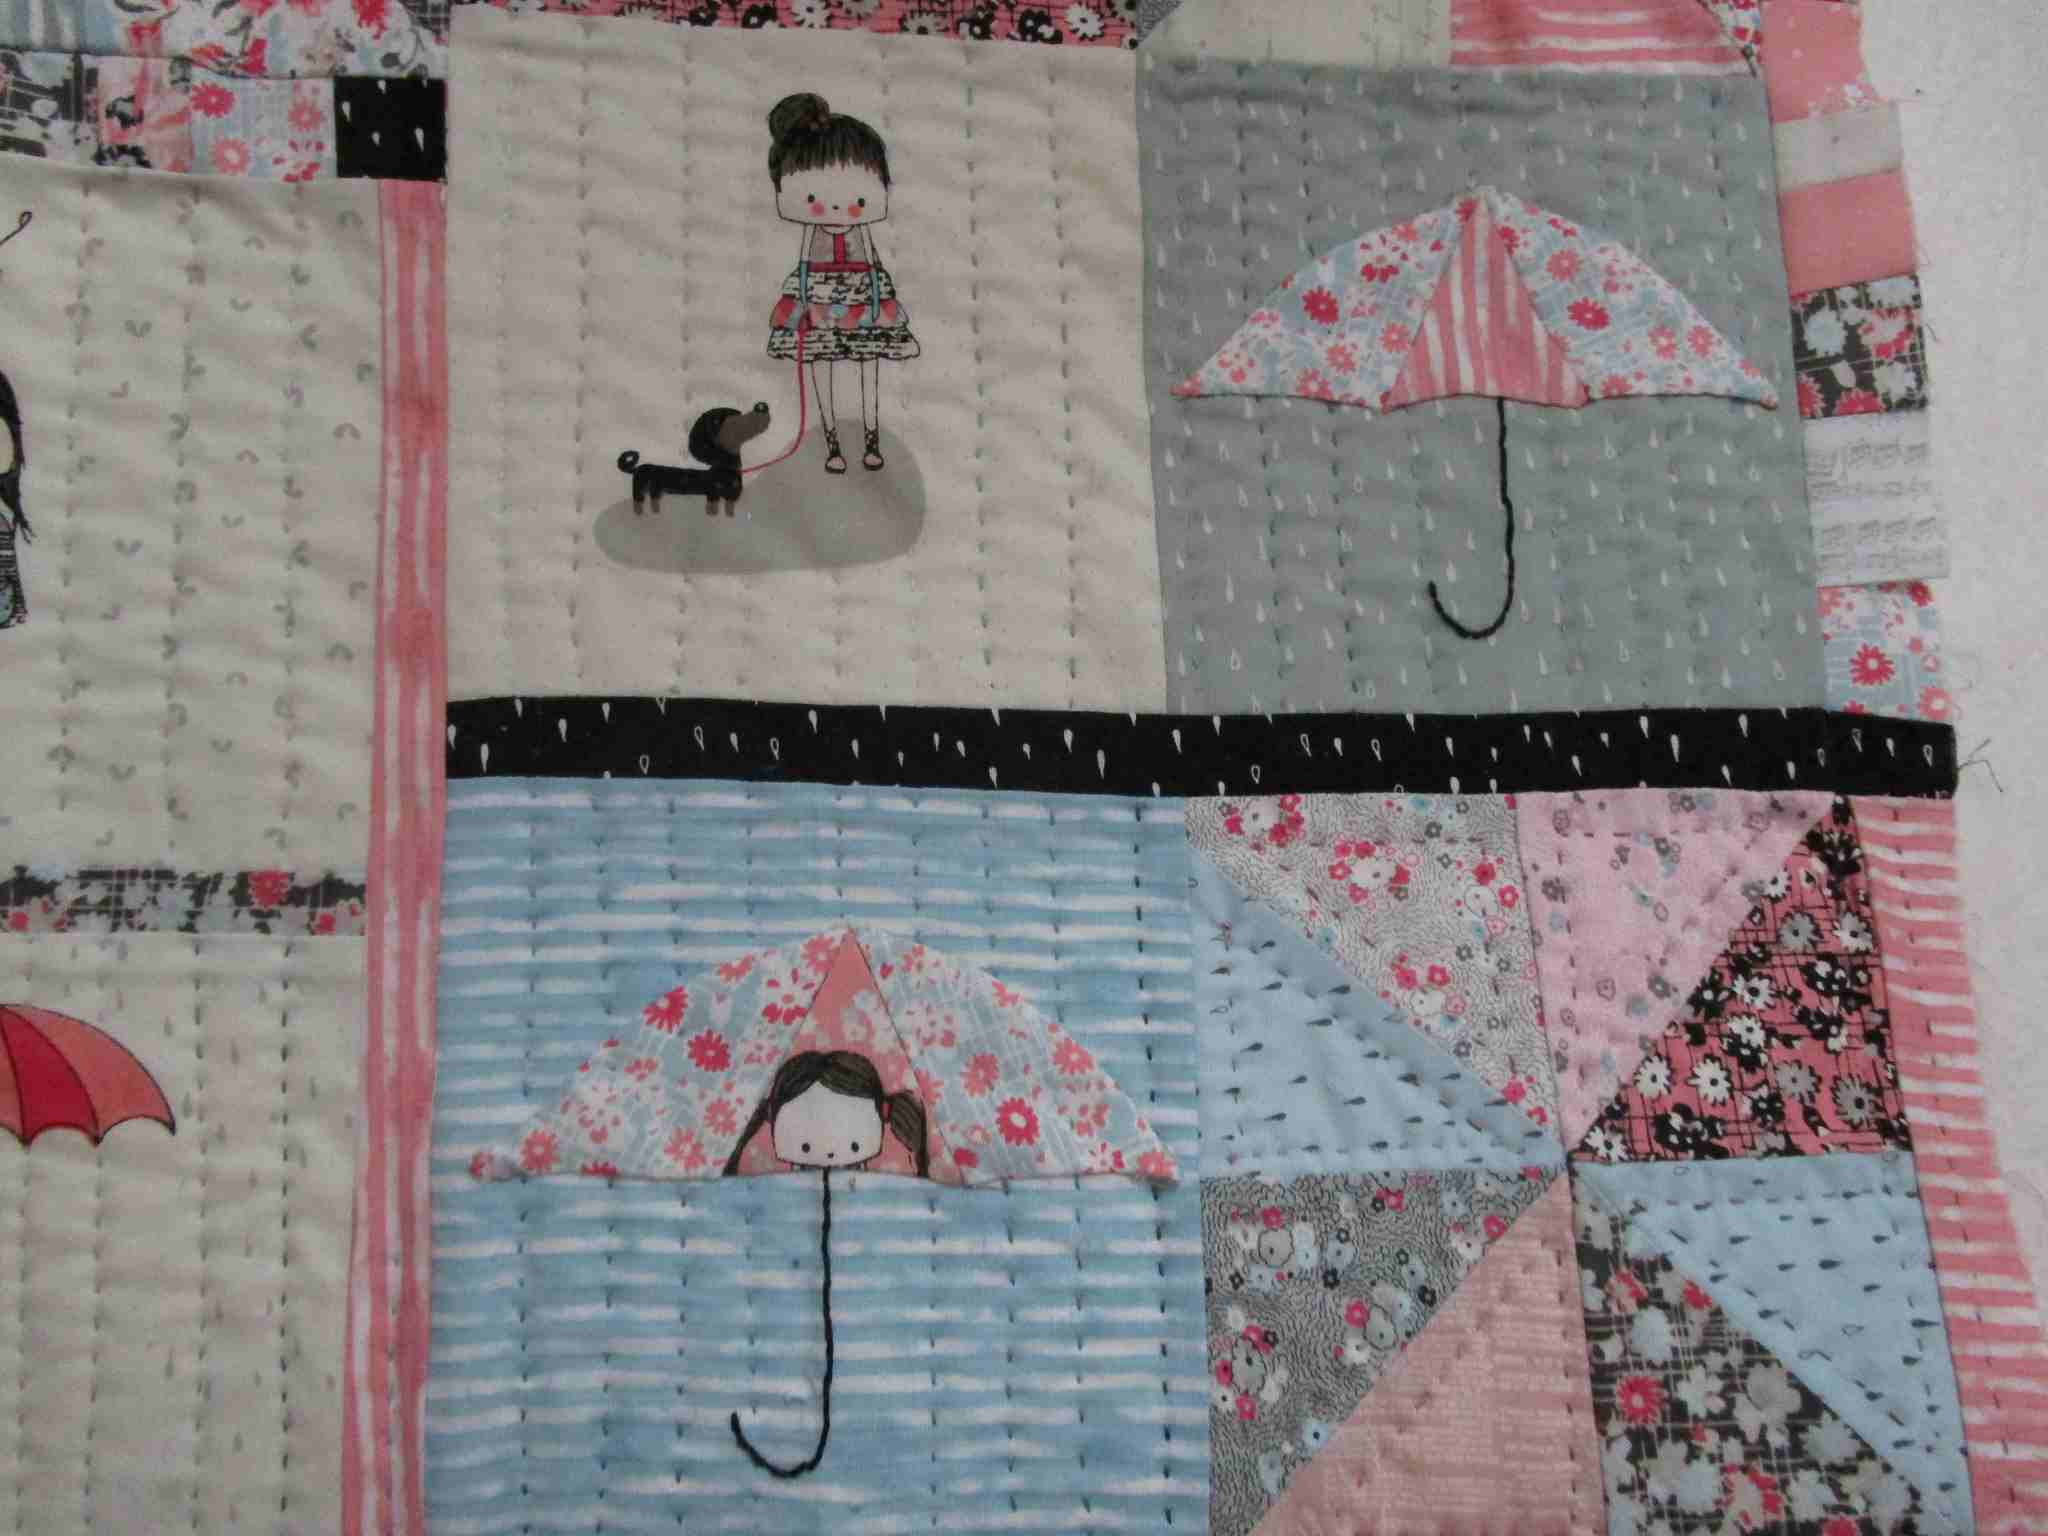
Plus I'm still quilting on my Rain Rain quilt.  I have switched to a Size 5 crewel needle and it works fine.  Not only is it MUCH EASIER to thread but it's much stronger than the size 8 or 9.  I also pulled out some of my #12 pearl cotton to get a bigger color range.  I love the added line the quilting adds.  Normally with hand quilting, it's all about adding texture.  But with Pearl cotton, it actually adds an element of line that wasn't there before.   If you haven't tried big-stitch quilting, try it!!  Haven't you heard?  It's in!  (grin)
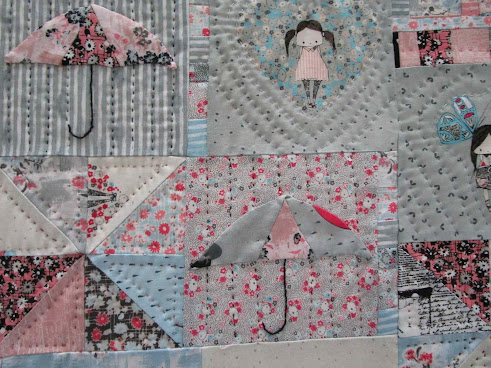
see, the pearl cotton makes it look like it's raining!

The News of the Day

After much hmmming and hawwwing, I picked out my annual creating vacation.  I'm going back to Marc Adams School of Woodworking to take Timna Tarr's Stitch Mosiac Class again.  It was so much fun last year, that once I really started thinking about it there wasn't anything else I'd rather do. 

You can read all about how much fun we had last year ... here .   It was so much fun two of my classmates are joining me to repeat the class.  If you haven't heard, Timna has a new book out on her very approachable technique of creating a mosaic pictorial quilt.  

If you are looking for a fun way to spend a week, please consider joining us in the class.  It runs July 17-21st of this year.  Also, there is affordable housing offered by the school OR hotel rooms are close by that are pretty inexpensive too.  Indiana as a whole is an affordable friendly place to visit.  I mean, gosh, this is what I made last year....


So is anybody else getting back to handwork?

You are invited to the Inlinkz link party!

Click here to enter

Friday, February 17, 2023

Works in Progress on Off the Wall Friday


Really I have no idea where the week has gone!  I've been working all day and then stitching for a few hours every night.  One thing I can say is that being this productive really doesn't make for really interesting blogging!  (sorry!) So I thought  I would just show you the progress I've made on my three main projects!

Project I - Homeward Bound BOM  Quilt - Month 2

OMGoodness!!  How could it take me this long to hand applique these little suckers?!?  When I first started quilting (BT - before Tessa), I would do hand applique blocks in the evenings and just slowly work my way through them. Now I have a deadline though and I need to get them done by the end of February.  I'm over halfway through and little by little my circles are getting smoother.  It's all in the way you press them AND the way you hand applique them.  But I do like how it's coming and I was sooo right...changing the color palette sure gives the quilt a different mood!  You can see the original palette here!  And this is my palette - eggplant, turquoise, red-orange, yellow

Cool Right?!?

Project II - Big Stitch Quilting Rain, Rain  

Putting my quilting frame in the little den off the kitchen (also known as Tessa's den) was one of my


better ideas.  Whenever I have a little block of time, I sit down and get more quilting in.  Plus I put the old TV  in there and have been watching favorite shows as I quilt at night.  It's fun.  It's out of the way but not too out of the way so I feel isolated.  In the past, I would set it up in the family room and it always seemed in the way.  Now it has its own spot.  I mean why own a 14 room victorian if you can't give your quilting frame its own room right?  Anyways as you can see my big stitch quilting is really "In-between" quilting.  I've given up totally trying to retrain my stitches to a quarter inch and just let them go naturally a bit bigger with the choice of pearl cotton and a bigger needle.  It's fun to see how the line of quilting really has a big impact on the quilt. Now the quilt finally seems like it's raining!   Plus,  it's super satisfying when it's time to roll the quilt because I finished another whole line.


Project III - Dressing/Fabric Room

This really isn't my project....it's Paul's. But GOSH!! What a difference!!  It makes me think why didn't we do this earlier.  He's so sweet though.  He includes me in the plans.  So when he started talking about how much the new shelving wood would cost, it was in the same conversation about how the big old church pew was in the way of his woodshop.  The pew came from his home church and they were going to throw it out so Paul rescued it.  I suggest upcycling it to become my new shelving.  The wood is so gorgeous, already finished, and of course heavy duty!  So that's what he did.  He cut up the pew and it's going to make the nicest shelving!  I love upcycling.  So we are getting closer and closer to putting everything back in.  (This dressing room sits in the once attic of my house - off the master bath that is up there.  It's accessed through stairs in my master bedroom)

The Before:


The So-Far!


 Yes, the Sayre's have been busy!!

(Linking with Slow Stitch Sunday since I'm doing so much stitching!)

So What Have You Been Up to Creatively?

You are invited to the Inlinkz link party!

Click here to enter

Friday, February 10, 2023

Homeward Bound BOM Month 2 on Off the Wall Friday


Ya know, even though I don't put much belief in astrology, I can totally see myself fitting nicely under


the sign Gemini.  It's like two people living in my head.  This week it was totally pointed out to me...again.  For the last few years, I've been busy in my quilt studio designing original work and creating it with my Janome.  This month, I've become totally obsessed with the exact opposite.  I have two, yes count 'em two, pattern quilts going at once both mostly done by hand.  Well to be fair, Rain, Rain started out as a patterned quilt and grew into a scrap monstrosity.  Plus, I'm fully committed to the Quilt Show's Block of the Month quilt, Homeward bound.  

So what I learned this week....

FINALLY, I learned how to thread 8 pearl cotton into a #9 crewel embroidery needle.   After much experimentation, I've been using the method I learned from Spruce Crafts.  You pinch the thread between your pincher finger and thumb with just a bit of thread showing.  Then you lower the eye of the needle onto that little bit while you push up the thread.  It doesn't work 100% on the first time,

photo from Spruce Crafts but it shows exactly how I was able to do it.

but it's been working better than anything else has!  I don't know how people can thread their #8 Pearl cotton so easily but I've had a hard time.  I also decided that my favorite needle is Colonial


embroidery needle #9.  It's sharp and thin enough to hold about 3 rocking stitches but I can still thread the eye.  I've been quilting 1-2 hrs a night and I'm still on my first needle so that's saying something. 
I'm quite sure what I'm doing is not really considered big stitch quilting but it's not little either.  So I guess it's in between quilting.  I do like getting my needles from the Colonial site because they have a great selection to choose from! I don't know about you, but I've had a hard time finding good quality needles anymore in the stores! BOY!  I've really been enjoying being back at my frame.  I'm working my way through the Mentalist (again).  I think tonight Patrick will FINALLY get Red John. 


For my studio time, I've been working on the block of the month quilt which apparently is all hand applique.  I finally have mastered Sarah Fielke's method of making bias stems.


Then today I tackled making circles using templates and tin foil.  I don't think I've ever made real templates in my whole 30 years of being a quilter!  What I ended up doing was using Kay Buckley's perfect circles to make cardboard templates.  Then you trace the circle on the wrong side of the fabric and cut an approximate quarter inch around it.  


Then you make a tin fabric-cardboard template sandwich wrapped in tinfoil...and press.  


  Now when  Sarah does it they come out perfectly.  As you can see I am going to need a bit of practice. Actually, the last ones came out better than the first ones.   I think part of the reason is my cardboard templates are perfectly circular so I might have my husband try recutting them for me.  With something like 130 circles to go I should get in some practice!


The thing that is working is Wonderfil's 100 wt invisafil thread.  I've been using light and dark grey and it disappears into the fabric.  Plus it stitches up nicely without tangling.  LOVE IT!!

So the traditional side of this Gemini was hard at work this week....

What Have You Been Up to Creatively?

You are invited to the Inlinkz link party!

Click here to enter

Friday, May 6, 2022

Stitched Mosaics on Off the Wall Friday

You'd think after 30 years of quilting, I'd have learned every clever way to sew together fabric, right?!  Apparently not.  This week, I'm here at Marc Adams School of Woodworking taking a Stitched Mosaics class from Timna Tarr. Wow!  Am I having fun!  I'm not sure what is more amusing...learning a new process of translating a favorite photo into an art quilt or being surrounded by a bunch of people who have no idea what quilting is beyond that its something that goes on a bed.  Let's just say that the ladies in my class have been taking some time to re-educate the woodworkers in the other classes this week.

The process seems deceptively easy.  Blow up your favorite photo, grid it out into  2" squares, chose fabrics to match the photo, and sew them all together.  No problem right?!  Welllllll, there is a bit more to it than that.  Timna has taught us all the skill of prepared turn under machine applique using Best Press starch which is useful in all sorts of applications.  Here though, we used it to do the blocks that had more than one color in them.  Plus the whole process is a great exercise in value and color!  It's enough to make your head spin!!  It all adds up to a week of a lot of thinking, sewing, and Advil.

So here is the play by play...

Day 1:  This is what I'm trying to make


This is where I was the first day....


Not too hard...the background was very reminiscent of putting together the watercolor quilts of the early 2000's

Day 2:  I spent the day getting a lot of the background sewn together ....started working on Tessa's hair, worked  out the issues with her lace dress using the backside of light flower fabrics and started getting her hair together. (sorry it's blurry - the florescent lights threw off my camera)


Day 3: Finally tried the machine applique process...only had to do the block over 3 times to get it right!  I did work out a system where I would prepare several blocks that needed to be applique and then sew them all at once which worked out nicely.  The right side came together nicely and I found just the right fabric for the Queen Anne Lace Flowers...an RJR snowflake fabric!


Day 4:  I spent most of the day  at the sewing machine.   I did finish placing all the fabric on the background and her arms.  The face is left  for last.   I'm finding mistakes here and there, but I am beginning to understand how to manipulate the fabric.  One thing I am reminded of is that my Janome Horizon does NOT like monofilament  thread.  I probably will switch to a nice 80 wt when I get home and give that a try.  


Next week I'll give an over all review of the class and school. Plus want to gush more about Timna and my classmates!   Right now I'm having trouble keeping my eyes open!

So What Have You Been Up to Creatively?


You are invited to the Inlinkz link party!

Click here to enter