Showing posts with label surface design. Show all posts

Friday, October 29, 2021

Digital Printed Fabric on Off the Wall Friday


 So it's gettin' to be that time of year when my family asks me to fill in my Giftster list on what I want for Christmas.  This year it's harder than most since I really don't need anything.  I started looking through my studio and noticed how much digital fabric I bought this year.  Something about the vibrant colors and the funky abstract designs really appealed to me.  In the last 5 years, I haven't bought  much commercial fabric since #1 It's so Godawful expensive and #2 that midcentury "modern" design is not my jam!  Now that digital printed fabrics are becoming more main mainstream, it's captured my interest and my fabric budget!

When digital printed fabric was first introduced to the average quilter, most balked at the higher price and odd designs.  She wasn't used to the idea that with digital fabric, basically you can print any image that can be put into a digital file.  I mean really, how do you work some of those designs into a traditional quilt?

Screen Printing
Traditionally, quilting fabric is screen printed in Japan and Korea.  Due to the screen printing process it
is  limited to about 2 dozen colors in a design.  The screens need to be cleaned and the process is NOT environmentally friendly.  The fabric produced is high quality and color fast, but due to the process, it's time consuming.  The industry norm is an 8 month turn-around from when a design is submitted till when it's delivered back here in the States.  That means that re-runs of a certain designs is not the norm.  So once your favorite design is gone it's gone. 

Digital printing is much more environmentally friendly.   The printing process is continually evolving so that the quality of the prints are photo realistic.  Because of the process, there is no need for a large run size of specific print.  Design amounts can be order as needed. The designs are also not limited the repeat of the screen process.  So if you want a very big design repeat you can have it!

Robert Kaufman Fabric...Effervescence


That said, the industry is still slowly investing in quality equipment to produce enough fabric to meet  the demand.  As this is happening prices on digital fabric have come down.  (I can attest to that.  I bought all of mine for under $9/yd).

Over the years, I've heard concerns from quilters about color fastness of their digital fabric.  I  think that all the fabric that I've bought in the last 3 years has held its color fine (but I haven't tested it in continual direct sunlight).  I might or might not prewash my quilt fabric but haven't had any big difference in the hand of the fabric.  What I have noticed is that I find the digital fabric dyes intense so they need to be carefully worked in with my traditional screen printed fabrics.  Their designs have a crisp strong look to them.


From what I've read, the digital printing of fabric is definitely where the industry is headed.  Michael Miller  Fabrics has already switched all their fabrics to digital.  Hoffman (gasp!) and Robert Kaufman both  have  invested in several collections.  Both companies are touting the environmental concerns, but it also makes better business sense.  With digital printing, a manufacturer has better control of the quantities needed to meet sales.  This eliminates overstock of prints that would end up being put on clearance.  

I found this whole foray into the world of fabric design interesting.  I have tried spoon flower with lack luster results.  Although I thought it was great that I could get any design I wanted, I thought the cost was too high for everyday quilting and the fabric quality not up to par.  But the Hoffman and RJR digital prints I bought this year were fabulous and I definitely can see myself buying more.  

So what are your thoughts on digital fabrics?   Let me know  your opinions and experiences!


You are invited to the Inlinkz link party!

Click here to enter

Friday, August 2, 2019

Class with Emily Richardson - Off the Wall Friday

Basically the Before

Ready to Paint!
So the artist/teacher Emily Richardson finally was rescheduled this year to return to Quilting by the Lake to teacher the class Inspiration Through Reflection: Painting Fabric, Creating Quilts. I believe this was her 5th time at the conference over the last 20 years.  Even though I loved her work, I just wasn't in a place that I thought I could confidently be taught what she did.  BUT this year, I was and I'm so glad I did!!  


At QBL, some years I learn just a bit and play a lot; some years I learn a LOT of stuff and play not at all.  I've had a couple really crappy years where I kept waking up each day and think OMG why did I take this class???  THIS year I really had a creative breakthrough and an amazing lot of fun!!  I would look up at Emily and say at least a couple of times a day, "I'm really  having a good time!!"

My OMG why didn't I take up knitting when I had a chance!
Now going in I really didn't have a clear idea  of what we are going to do.  But I did know that I didn't think she was going to show us how she created and show us how to do it!!  BOY was I wrong.  We had a nice range of 21 ladies in class  - some with a ton of surface design experience, some with a ton of design experience, ladies who had made very few art quilts and even a lady who  really hadn't made a quilt yet.  And Emily taught us all....no matter where we were on our creative journey she found us and dragged us along till we got the hang of it.  The class looked like an art gallery when we were done.


So Here's What We Did:

On the first day of class, I promised Emily I was going to jump on her train and follow her directions.  This really is  not my style.  I mean I love rules....right up to the point that I think their stupid.  But if you just stay in your little box and never step out,  you will never progress.  (maybe I should send that to the leaders of the two major political parties).
Getting the hang of it

hmmmm, Sorry, I digress....

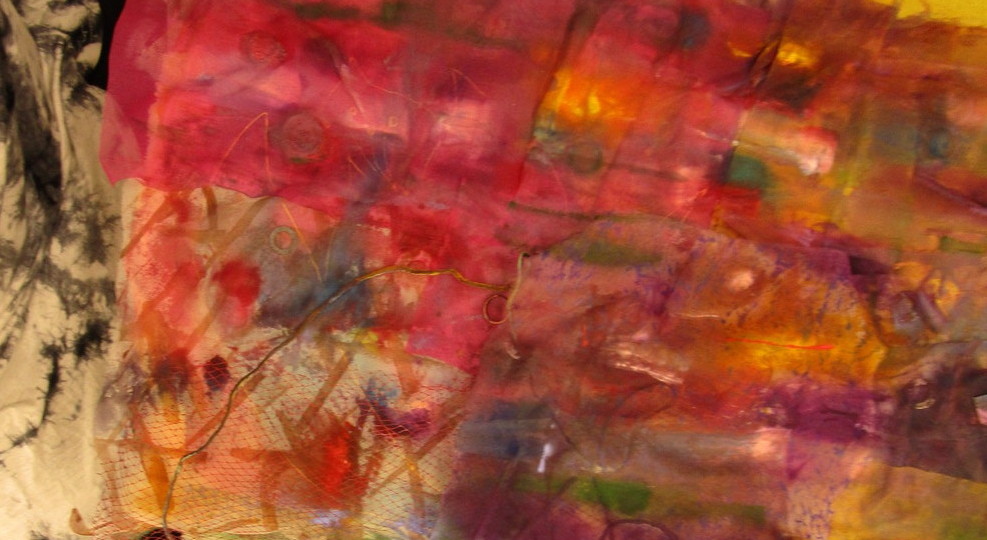
For the first two days we painted mostly silk.  The supply list came with a relatively inexpensive supply kit that contained all sorts of silk types for us to experiment with. Plus I brought all my silk scraps  too.  We stacked the fabric and just started painting.  I would be lying if I said at this point I had a clue of how I was suppose to paint but Emily said just get some paint on the silk so that's what I did (as you can see from the picture).  But with each following painting session, I had more an idea of how it was going to come out and what kind of effects I liked best.  Really, though all the fabric came out usable.  Maybe not amazing usable, but it will do usable.

MUCH Happier With this one
By  Day 3, we put all the paint away, and started to design. Emily gave us instructions on how basically put the fabric up and fill up your piece. THEN you were suppose to move things around by what you liked and what you didn't.  What bothered you...what you didn't,..she gave us a list of things on how to evaluate your piece so you know when it was done and that was a skill I really needed to work on.  But really not many of us started with a clear idea of how it was going to come out and that's how she does it.  At the end THEN she titles it.  Totally different with how I work.

By the end of Day 3, I finished my first trial which Emily thought was almost there.  She walked up and looked at the piece - looked at my silk pile .... grabbed  the right piece and put it in the right place.  PERFECT....so apparently you get better at this with years of practice.  Although that saved me a TON of trials, I still like to do my own work.  I asked if I could do another one that looked more like me and less derivative of Emily's work.  She gave me a look because normally classes start sewing it down but once mine was basted I thought I could do the rest at home. (Most everyone did more than one...some even did three!  She said she never had a class do that!)
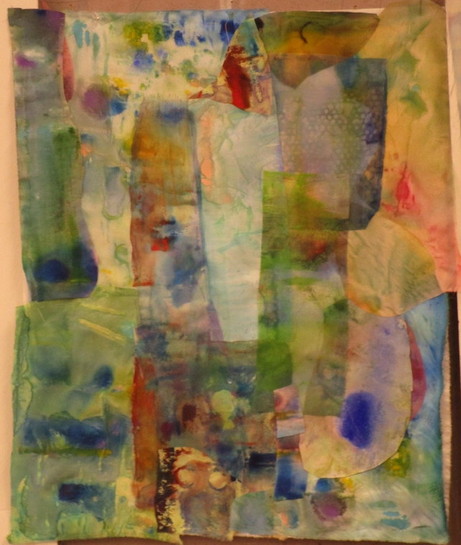
Actually this one came out the best....you really don't know you're going until you iron the out!!


Day 4/5 was spent doing a much bigger piece more in my own compositional style and it went  together  much easier.  By Friday at 2:00 pm, it was all basted and ready for our last evaluations.  I'm leaving that piece for another post but I really love it!!

My first piece ...not super big 14" by 20"

Two weeks later, I still haven't made it back into my studio to figure how how to finish sewing them.  But I will  this weekend.


Now we're cooking....ooops Painting!


So to sum it up....If you ever get a chance to take a class with Emily ... DO IT!!  She has a unique teaching style which is totally her.  She's a lovely lady.  Quiet on the outside but really has a nice dry sense of humor underneath. She's VERY generous with her process.  She's one of the few teacher/artist that doesn't do this to be in the limelight.  In fact, I'm thinking that is the last place she wants to be.  I think she creates to share the beauty of her work with the world.  And yessssss...it was super fun to soak it in all week!

I love this picture!
So What You Been Up to Lately?

You are invited to the Inlinkz link party!

Click here to enter

Friday, June 14, 2019

Silk Painting 101 - Off the Wall Friday

The painting Studio


So I decided to not take a quilting class at John C. Campbell Folk School.  Okay, in my defense when I signed up last November for Silk Painting with Vicky Luffman, I really had no idea what it was.  I mean I thought I knew what it was.  You paint on silk right?!?  But gosh I've been in the surface design quilt world for so long that I thought we would go in and put some paint on silk and then it would be made into something else. But no!!  Apparently, people actually paint on silk - with brushes - paintings on actual silk.  And she wanted me to do THAT!

I don't paint.  No really, I don't paint ever.

On Monday morning, I was thinking what did I get myself into!!   I swear to God if I had my sewing machine I would have changed to the doll making class going on in the quilt studio in a hot minute.  And I would have missed an amazing experience.

My Sketch from a Photo Inspiration
After a Monday night dinner bemoaning that I don't paint to my husband and anybody else that would listen, I put on my big girl pants and gave it my all.  It really is a versatile  medium full of so many surprises and nuances.

Stretching the silk and adding Resist


You first  start out with inspiration and a sketch.  Vicky brought many sketches to trace for those of us who don't draw.  She asked me if I wanted to trace one of hers or maybe she could draw what I wanted but after the look I gave her, I think she figured out that I wasn't that kind of girl. I figured if I was going to go down, I was going to go down with my own work.


Learning how to dry brush  -obviously its an acquired skill

We took 10 mm habotai silk and stretched it onto bars tacking it down with push pins.  Then our sketch was traced onto the lightly with a pencil.  Painting on silk is not like painting on canvas.  First of all, we weren't using paint.  We were using acid dyes.  Secondly, that dye will migrate through the silk like a hot knife through butter if you don't stop it with something.  We used a water based resist method which formed lines through our work and kept each color where it should go.  Now if you put the resist down on the white silk - it will leave a white line.  If you paint underneath it (called dry painting), it will leave that color line you painted.  Of course, I decided to do a lot of dry painting which doubled my work.

Sometime Tuesday morning, I realized that although I didn't know how to paint, I did know a lot about composition, value and color.  That was when it clicked.  I just started thinking of the dyes as fabric and started using them as such in my piece.  My life became much easier.  As I worked on my one little painting over 3 days though, my classmates were doing two, three or four of them.  Still the rule at John C. Campbell's is that this is NOT a competition.  There were only a couple of people in the class who had painted before so I wasn't the only beginner!

Sunshine at John C. Campbell's, Nina-Marie Sayre, 2019

Once the initial painting was done, it needed to dry thoroughly, then placed in a steam bath for two hours to set.  The resist is then washed off and you iron it dry.  And Wha- La.....You have a painting.  I did two others but this was my main piece.  I was so glad I chose a piece that I could play with how the dye hit the silk and how the colors mixed together.

Talking to my whole class, I think everyone had fun.  We were tired....I painted till 8 or 9 every night but I learned so much.  We also learned how to dye scarves.  Well my class learned how to dye scarves!  Apparently silk scarves are dyed just like cotton (even in their own version of the Red Solo Cup Dyeing method).  This I knew how to do so I just kept learning how to use a brush.  To paint.  An actual picture.

Peaking in on Paul


Where was my husband  during all of this???  Well he took a Windsor chair class.  Now Paul is an accomplished woodworker.  He tends to do artisan functional pieces.  This one, however, was all done by hand.  When I would mention to people that Paul was in that class, they all laughed and said don't plan on seeing him much.  And they were right.  We met up for meals and 11 pm for bed where he was snoring in 30 seconds.  Still his whole class managed to make a Windsor chair in less
than 5 days.  Now he just needs to make 5 more....grin


Tired Paul sitting on his new chair

Looking back at the class as a newly retired painter, I can highly recommend Vicky as a teacher.  She was ridiculously energetic and generous with her time.  She stayed every night to teach till 9 pm.  She came early to clean the gorgeous studio and she was our biggest cheerleader.   Really all the teachers were top notch at the school.  I didn't hear one bad comment about any of them and several - like Vicki - had taught there for several years.  I like how they made even the very beginning beginner feel successful  by the end of the week.

Some of my Classes Work

So did I find a new passion....ahhhhh no.......truth be told I missed fabric terribly the whole week.  But now I totally learned what I originally set out to do.  I can now surface design and paint on silk proficiently to be used in my own work.  I even came home with enough supplies to play with this summer.
My Class' Selfie , That is Vicky on the far right with gorgeous white hair

I love, love, love this Picture - It makes me smile!

If anybody has any questions about the school, or class or silk painting method please leave them in the comment section and I'll answer them there.  

So What You Been Up to Creatively?


You are invited to the Inlinkz link party!
Click here to enter

Friday, January 5, 2018

Mark Making - Off the Wall Friday

My sister in law, Susan blessed me with some new Gelli Printing Plates for Christmas and it really
has my mind working over drive.  I can't wait to explore the myriad of ways that this product can be used to make a mark.  Researching I found these great videos
and so on, and so on, and so on. . . . . . .

  Yes, I did fall down that rabbit hole known as youtube tutorial videos.  (As an aside, my brother in law Steve, has a saying that if it doesn't have a tutorial on Youtube than its not worth knowing.  We in this house, totally agree!)

Watching these videos, not only was I amazed at the ease and versatility of this product, but of the limitless ways to make marks.  I mean, I guess I realized it before, but seeing them flash in front of my eyes one after another, after another really brought to light how many ways you can make a mark and the type of marks is only limited by your time and energy and creativity.

So I start looking at different marks you can make on fabric and THAT was its own rabbit hole.

I really can't wait to practice trying some of these different marks  One of the things I like best is most of these are done with fabric paint which I can use in my cold winter house (rather than thicken dying of summer weather), use any kind of fabric with no need to prepare it and use very little  chemicals.

Like I said you are limited by  your time and energy and creativity.  Besides, what human doesn't like to make their mark on the world!

So what have you been up to creatively??

Friday, May 19, 2017

Ways to Paint - Off the Wall Friday


As Erie broke a record high of 87 today it suddenly dawned on me that summer is a knocking.  And
what comes with summer??  Yesssssssssss - painting and dyeing fabric.  I've made it a habit of once a year, clearing out my studio and just setting it up to dye and paint enough fabric to get me through to the following summer!


Usually its more hand dyeing than painting BUT this year, I  thought I would make sure I did more painting.  Really what I've had problem with is that once I get all the stuff out, and have all that white fabric in front of me,  I don't know what I want to paint or how.

So this year, I thought I would come up with a plan.  All year long, when I saw a fabric or technique I really liked I kept the image to inspire me.  I've taken images from not only fiber artists, but also mixed media artists, painters, calligraphers etc.

Here are a few.  Over the next weeks, I'll start experimenting  with thicken dyes and paints.  Not to mention get out my hand made stamps that have been sitting on the shelf!!


BASQUIAT PAINTING SELLS
 FOR 110 MILLION DOLLARS

Jean-Michel Basquiat's 1982 untitled painting of  a skull brought a whooping $110 million dollars at auction Thursday.  It became the 6th most expensive painting ever at auction.  The sale broke an auction record by an American artist beating Andy Warhol.   The buyer was a Japanese Billionaire who obviously had no problem by passing the original $60 million dollar appraisal.

Never heard of Jean-Michel Basquiat??  He went from being a  homeless teenage graffiti artist  to selling paintings for $25,000  in a matter of years.  His work reflected commentary on political, social, and racial views.  Tragically, he over dosed at the age of  27 on heroin.

Since then his work has taken on a mythological and cool factor that is hard to beat.  In recent years, his work has grossed 171 million dollars at auction for 80 works.  Today's auction puts him up with the likes of Picasso. 

So you can decide - would you pay $110 Million Dollars for it?


So What Have You Been Up to Creatively?
(Maybe it will be worth $110 million dollars some day!)